Improving the ANT PCB Maker head
I’ve been tinkering with the ANT PCB Maker for some time now. I’ve had quite a few problems with gcode controller that suddenly stops working and the controller has been in a plastic box without enough space for easy modifications.
To solve the last one I devised a plan together with my brother to create a additional space below the CNC itself. There’s more then enough room and with a piano hinge everything is easily accessible! So that’s the easy upgrade. The other problem was the overheating Z-axis motor. I wanted to switch to a NEMA-11 stepper driver but to do so required me to design a new head.
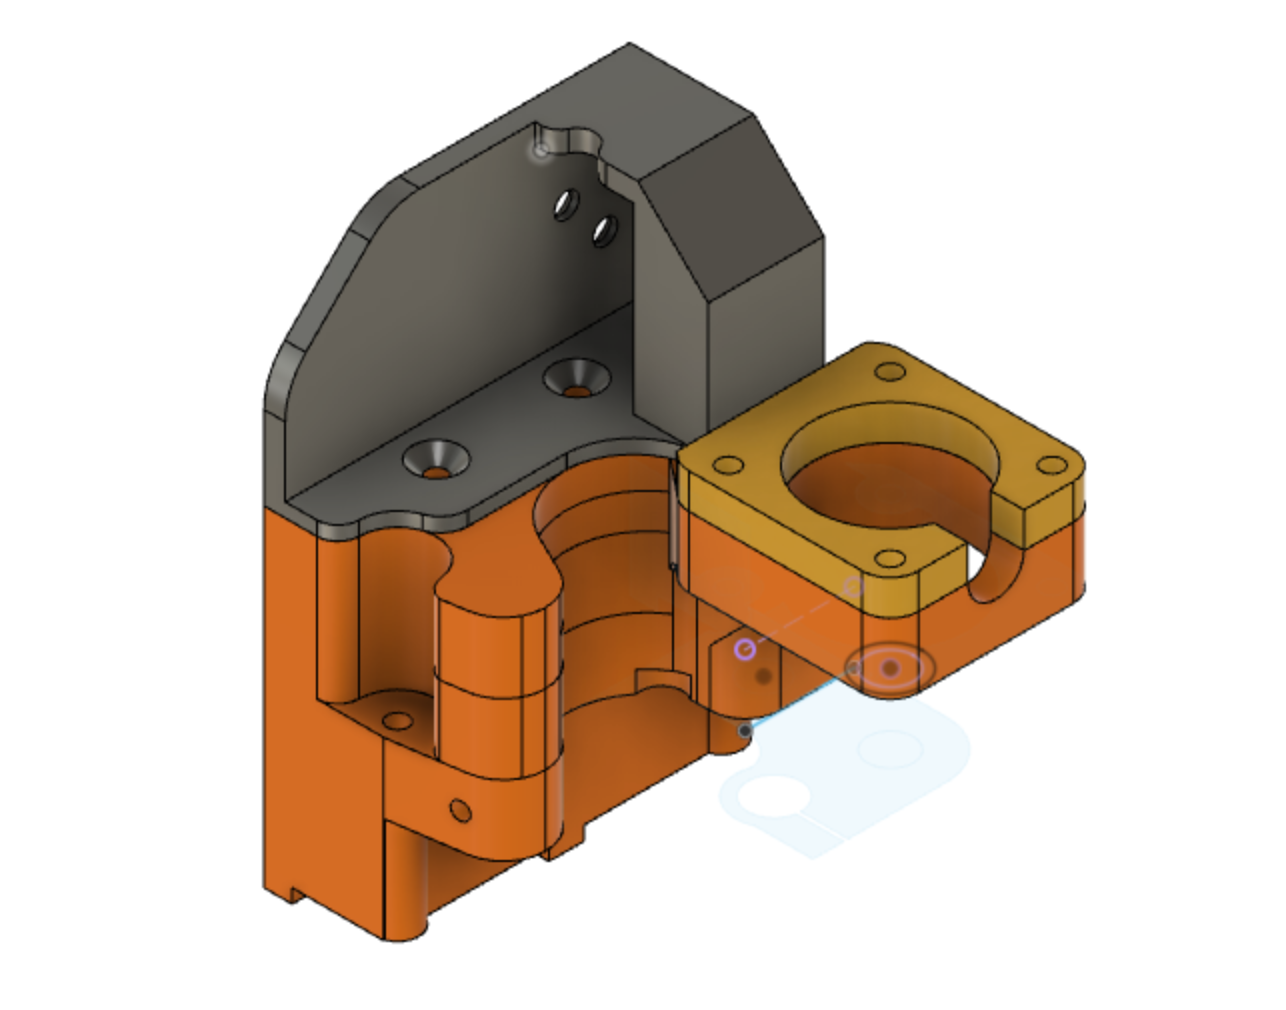
Which in the end I did. It’s not really production ready and your milage may vary but I wanted to share it anyway! So here’s a quick screenshot of what the head looks like currently with support for a NEMA-11 stepper and drag chain instead of a wire-harness.
If you’re curious on the parts, here’s what you need for an upgrade:
- NEMA-11 Stepper
- 5 to 8 mm coupler
- 100mm threaded T8 rod with 2mm pitch lead (lower pitch might even be better, but I didnt have one of those!)
- Some random M3 screws to mount the captive nut
- 2.5M 16mm screws for mounting the NEMA stepper
- Countersunk M3 6mm screws for mounting the drag chain mount to the head.
- If you want to install the drag chain you’ll need some screws for that as well.
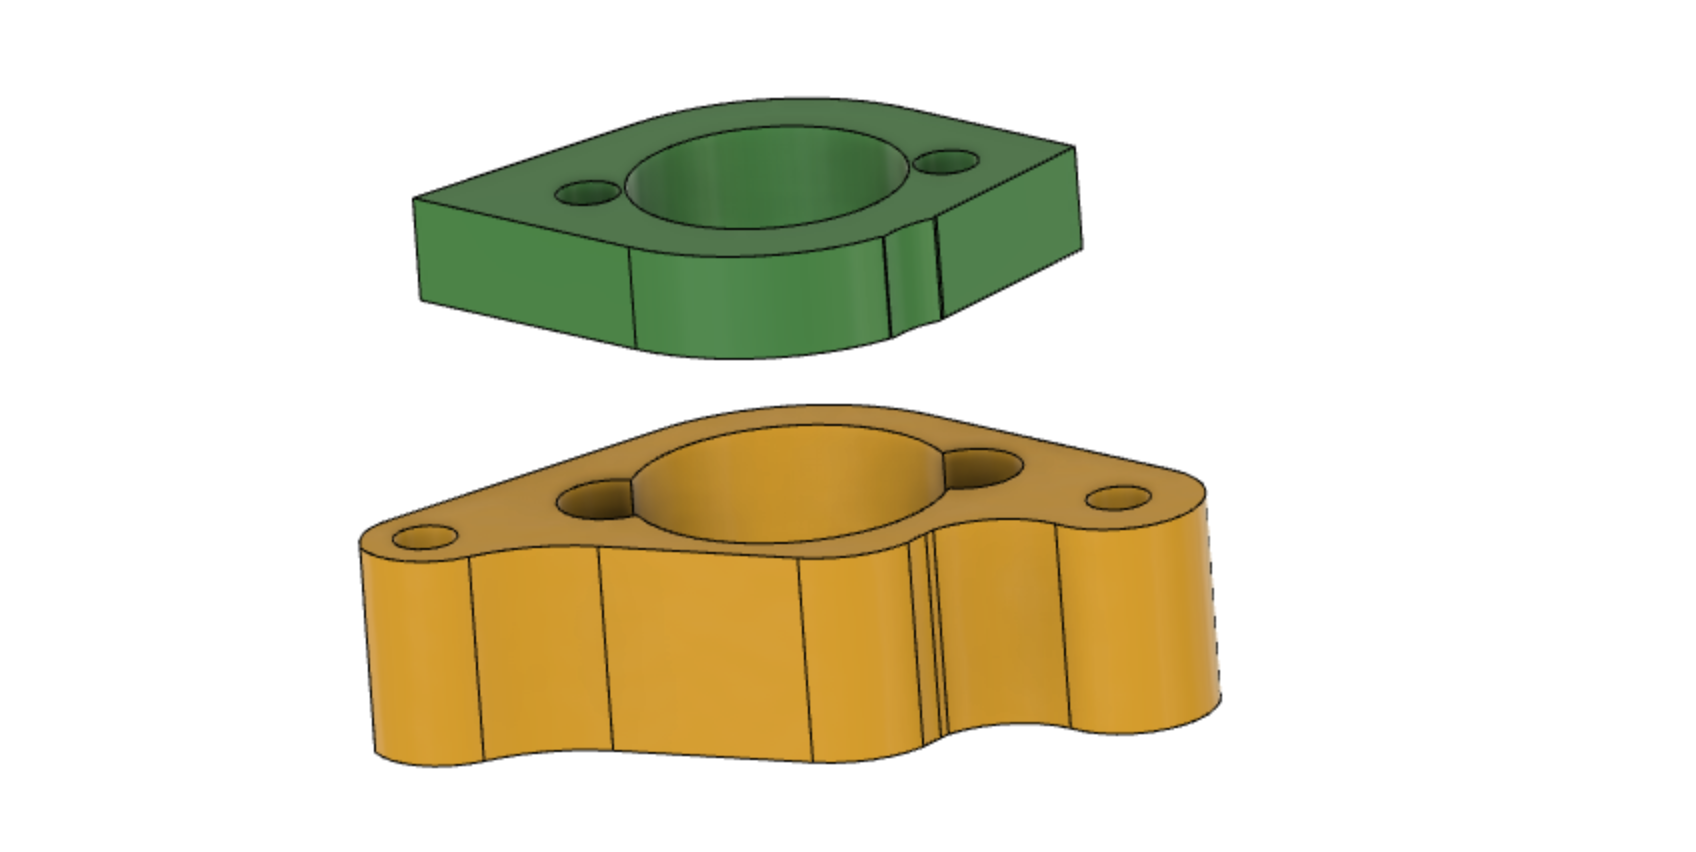
If you want to build it you will also need to adapt the mounting points for the captive nut of the threaded rod. This also includes drilling in some 3D printed parts to support connections, but that shouldn’t be to hard. The captive nut is sandwitched between two printed parts.
If you want to upgrade your ANT PCB Maker to a top-mounted NEMA-11, you can try this! The main reason I went with a top mounted one was due the the fact I don’t want any milled copper to enter the bottom mounted one (as with the recent design by the ANT Team).